How to Replace Pull Chain on Light Fixture, To replace the pull chain on a light fixture, first turn off the power, then remove the fixture cover and switch. Carefully install the new pull chain.
Replacing a pull chain on a light fixture may seem daunting, but it’s a straightforward task. Homeowners often face this issue due to wear and tear. A broken pull chain can render a light fixture useless, making repairs urgent. Basic tools such as a screwdriver and pliers will suffice for this job.
Safety should be a priority; always turn off the power at the circuit breaker before starting. With a few simple steps, you can replace the pull chain and restore functionality to your light fixture. This guide will help you navigate the process with ease.
Tools And Materials
Replacing a pull chain on a light fixture can be straightforward. You need the right tools and materials to do it. Below are the essential tools and required materials for this task.
Essential Tools
- Screwdriver: A flathead or Phillips screwdriver will work.
- Wire Stripper: This is crucial for stripping the wires properly.
- Needle-nose Pliers: Handy for gripping and bending wires.
- Utility Knife: Useful for cutting and trimming.
- Multimeter: Check for electrical current and ensure safety.
Required Materials
| Material | Purpose |
|---|---|
| Replacement Pull Chain | Replace the broken or old chain. |
| Wire Nuts | Secure the wire connections. |
| Electrical Tape | Insulate and secure wire connections. |
| Light Fixture Parts | Are any additional parts needed for the fixture? |
Having these tools and materials will make the job easier. Make sure everything is ready before starting. This ensures a smooth and safe process.
Safety Precautions
Replacing a pull chain on a light fixture is a simple task. But, it would help if you took important safety precautions to avoid injuries or accidents. This section will guide you through the essential safety steps.
Turning Off Power
Before starting any electrical work, ensure to turn off the power. Follow these steps:
- Locate the circuit breaker panel.
- Identify the correct breaker for the light fixture.
- Switch the breaker to the “Off” position.
- Double-check the power is off using a voltage tester.
Turning off power prevents electric shocks. It is the most crucial step for your safety.
Using Safety Gear
Always use proper safety gear to protect yourself. Here’s what you’ll need:
| Safety Gear | Purpose |
|---|---|
| Insulated Gloves | Protects hands from electric shocks. |
| Safety Goggles | Prevents debris from entering your eyes. |
| Non-Slip Shoes | Prevents slipping while working. |
Wearing safety gear ensures you stay protected. It minimizes risks during the replacement process.
Removing The Light Fixture
Removing the light fixture might seem challenging, but it’s quite simple. Follow these steps to safely detach and handle the fixture. Remember, safety first!
Detaching The Fixture
Start by switching off the power at the circuit breaker. This prevents any electrical accidents. Use a sturdy ladder to reach the light fixture. Ensure the ladder is stable.
Next, remove the light bulb from the fixture. This makes it easier to handle. Then, use a screwdriver to loosen the screws holding the fixture. Keep the screws in a safe place. They are small and easy to lose.
Once the screws are loose, carefully pull the fixture away from the ceiling. You might see some wires connected to the fixture. Do not yank the fixture down. This could damage the wires.
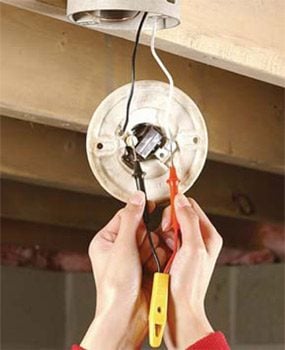
Handling Wires
With the fixture detached, you will see three wires: black, white, and green or copper. These wires are connected to the fixture. Use a voltage tester to make sure there is no electricity.
Now, use a screwdriver to loosen the wire nuts. Twist the wire nuts counterclockwise. Once the nuts are off, gently separate the wires. Make sure you remember which wire goes where. You can take a picture if needed.
Finally, place the fixture aside. You have successfully removed the light fixture. Now you can proceed to replace the pull chain.
Credit: www.youtube.com
Accessing The Pull Chain Mechanism
Replacing a pull chain on a light fixture might seem daunting. But accessing the pull chain mechanism is simpler than you think. Follow these steps to get started.
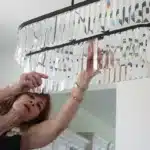
Opening The Fixture
First, make sure to turn off the electricity at the circuit breaker. This ensures your safety. Next, grab a ladder if the light fixture is high up. You might need a screwdriver to remove the screws holding the fixture cover.
Carefully remove the fixture cover. Place the screws in a small bowl. This way, you won’t lose them. Now, you have access to the inside of the fixture.
Locating The Chain
Look for the pull chain mechanism inside the fixture. It is usually attached to a small switch. Sometimes, it’s hidden under a metal or plastic cover.
Remove the cover if there is one. Now, you should see the chain and the switch clearly. Take note of how the chain is attached. This will help you replace it correctly.
Now that you have accessed the pull chain mechanism, you are ready to move on to the next step. Remember, keep safety first and handle each part with care.
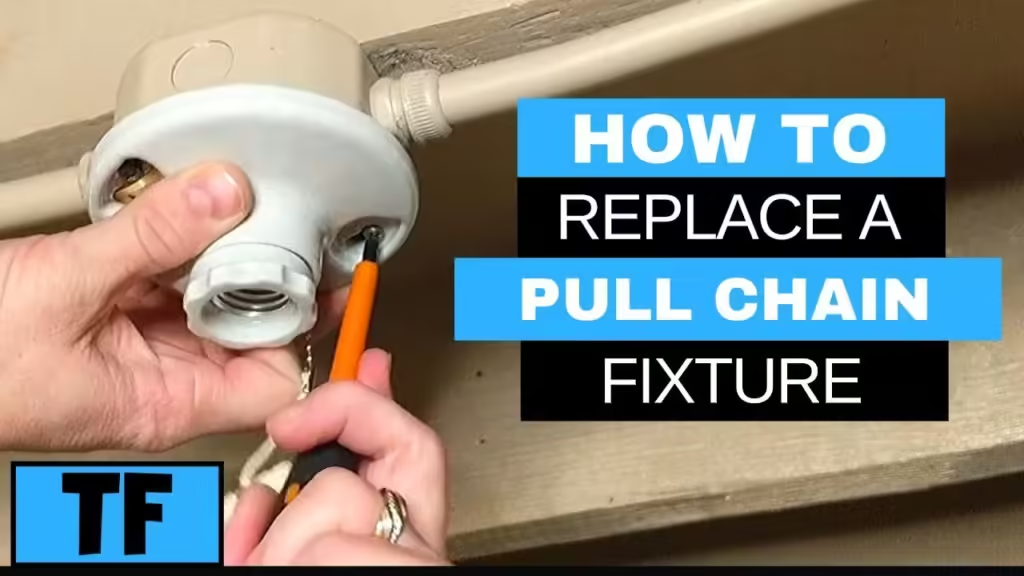
Removing The Old Pull Chain
Removing the old pull chain from a light fixture is a simple task. This section will guide you through the process step-by-step.
Unscrewing The Chain
First, turn off the power to the light fixture. This ensures safety. Next, locate the pull chain knob. It is usually at the base of the fixture. Use a screwdriver to unscrew the knob. Keep the screws in a safe place. You will need them later.
Once the knob is removed, gently pull out the chain. Be careful not to damage the fixture. The chain is often held by a small metal piece. Remove this piece carefully. Now the old chain is free from the fixture.
Disconnecting Wires
Now, you need to disconnect the wires. Look for the wires attached to the pull chain mechanism. Use a screwdriver to remove the screws. This will free the wires. Take note of the wire connections. You will need to reconnect them later.
After removing the screws, gently pull the wires out. Be careful not to damage them. The old pull chain is now completely removed. You are ready to install the new one.
Installing The New Pull Chain
Replacing a pull chain on a light fixture can seem tricky. With the right steps, it’s straightforward. This guide will walk you through installing the new pull chain with ease.
Connecting Wires
Start by turning off the power. Safety first! Locate the wires inside the fixture. You will see a black wire and a white wire. The new pull chain switch will have similar wires.
Use wire strippers to expose about half an inch of wire from both the new pull chain and the fixture wires. Twist the exposed ends of the black wires together. Secure them with a wire nut. Do the same for the white wires.
Make sure the connections are tight. Loose connections can cause the light to flicker or not work at all. Once connected, tuck the wires back into the fixture.
Securing The Chain
Thread the new pull chain through the hole in the fixture cover. Ensure it hangs freely and is not tangled. Attach the fixture cover back to the light fixture. Use screws to secure it in place.
Test the pull chain by pulling it gently. The light should turn on and off smoothly. If it doesn’t, check the wire connections again. Make sure everything is secure and tight.
Once satisfied, turn the power back on. Your new pull chain should work perfectly!
Reassembling The Fixture
After you have replaced the pull chain on your light fixture, the next step is to reassemble the fixture. This is a crucial part of the process to ensure your light functions correctly and safely. Follow these steps to complete the reassembly with ease.
Attaching The Fixture
Begin by aligning the fixture with the mounting bracket. Make sure the screw holes are perfectly aligned.
- Insert the screws through the holes in the fixture.
- Tighten the screws with a screwdriver.
- Ensure the fixture is flush against the ceiling or wall.
Once the fixture is securely attached, reconnect the wires. Match the wires by color: black to black, white to white, and green to green. Use wire nuts to secure the connections. Wrap electrical tape around the wire nuts for added safety.
Ensuring Stability
Check the stability of the fixture. Gently tug on the fixture to ensure it is securely fastened. If it wobbles, tighten the screws further.
- Ensure all screws are tight.
- Double-check wire connections are secure.
- Confirm the fixture is stable and does not move.
Finally, reattach any covers or shades. Make sure they are properly aligned and securely fastened.
| Step | Description |
|---|---|
| 1 | Align the fixture with the mounting bracket. |
| 2 | Insert and tighten screws. |
| 3 | Reconnect wires with wire nuts. |
| 4 | Wrap wire nuts with electrical tape. |
| 5 | Check the fixture’s stability. |
| 6 | Reattach covers or shades. |
With these steps, your light fixture should be securely reassembled and ready to use. Make sure everything is tight and secure before turning the power back on.
Testing The New Pull Chain
After installing the new pull chain on your light fixture, it’s crucial to test it. This ensures everything is working correctly. Testing involves a few simple steps. Follow these steps to guarantee your light fixture functions well.
Turning On Power
First, restore power to the light fixture. Locate your circuit breaker panel. Turn on the breaker that controls the light fixture. Ensure the room has enough light to see clearly.
Checking Functionality
Next, check the pull chain’s functionality. Stand under the light fixture. Pull the chain gently. Observe if the light turns on and off. Repeat this process a few times.
- Pull the chain once: the light should turn on.
- Pull the chain again: the light should turn off.
If the light responds correctly, the installation is successful. If not, recheck your connections. Ensure everything is secure and correctly installed.
Testing the new pull chain guarantees your light fixture works as expected. It also ensures safety and functionality in your home.
Troubleshooting
Dealing with a broken pull chain can be frustrating. Troubleshooting helps you identify and fix common issues. Follow these steps to ensure your light fixture works perfectly.
Common Issues
Understanding common problems can save you time and effort. Here’s a list of issues you might face:
- Chain Stuck: The pull chain doesn’t move.
- Chain Breaks: The chain snaps or detaches.
- Light Won’t Turn On: The light remains off despite pulling the chain.
Quick Fixes
Quick fixes can often resolve minor issues. Try these solutions:
- Stuck Chain: Apply a small amount of lubricant. Gently pull the chain.
- Broken Chain: Replace the chain. Use a new pull chain kit.
- Light Won’t Turn On: Check the bulb. Ensure it is screwed in properly.
| Problem | Quick Fix |
|---|---|
| Stuck Chain | Apply lubricant |
| Broken Chain | Replace with a new chain |
| Light Won’t Turn On | Check the bulb |
Credit: www.familyhandyman.com
Maintenance Tips
Keeping your light fixture in top shape is important. Regular maintenance can prevent issues and extend the life of your fixture. Here are some key maintenance tips to ensure your pull chain light fixture works smoothly.
Regular Checks
Performing regular checks can help you spot problems early. Inspect the pull chain for any signs of wear or damage. Check the chain’s movement to ensure it operates smoothly without sticking.
- Look for frayed or broken links.
- Ensure the chain is not tangled.
- Check if the chain pulls smoothly.
Lubrication
Lubrication is essential for smooth operation. Apply a small amount of lubricant to the pull chain mechanism. This helps reduce friction and ensures the chain moves easily.
- Use a light machine oil or silicone spray.
- Apply lubricant to the chain and mechanism.
- Wipe off any excess lubricant to avoid dirt buildup.
Regular maintenance keeps your light fixture working well. Follow these tips for a longer-lasting and smoother pull chain operation.

Credit: m.youtube.com
Frequently Asked Questions
How Do You Fix A Pull String On A Light?
Turn off the power. Remove the light fixture cover. Detach the old pull string. Attach a new pull string. Reassemble the fixture.
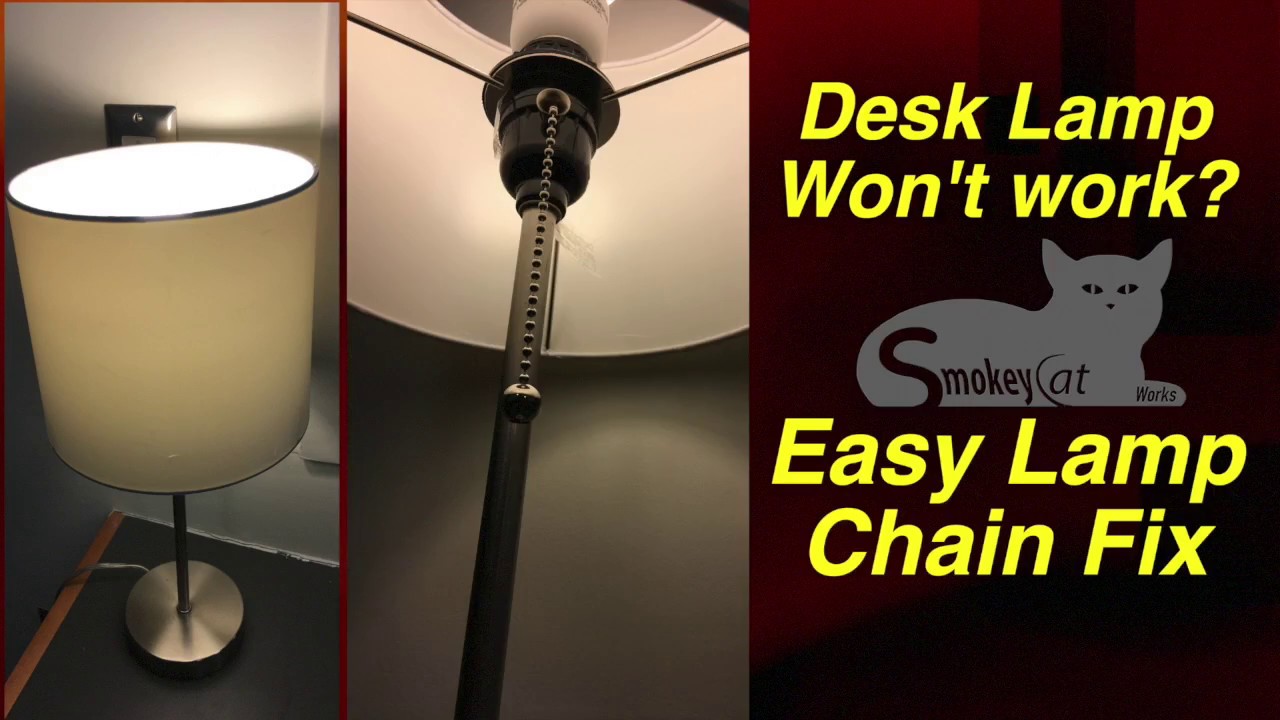
How Do You Replace A Chain On A Pull Chain Lamp?
To replace a chain on a pull chain lamp, unplug the lamp. Remove the lamp socket cover. Unscrew the old chain. Attach the new chain to the switch mechanism. Replace the socket cover and plug the lamp back in.
How To Fix A Pull Chain?
To fix a pull chain, turn off the power. Remove the fixture cover. Replace the broken chain or switch. Reassemble the fixture and restore power. Ensure the pull chain operates smoothly.
How Do You Convert A Pull Chain Light Fixture?
To convert a pull chain light fixture, turn off the power, remove the old fixture, and install a new switch-operated fixture.
What Tools Do I Need To Replace A Pull Chain?
You’ll need pliers, a screwdriver, and a new pull chain kit.
How Do I Safely Turn Off The Power?
Switch off the circuit breaker connected to the light fixture.
Can I Replace The Pull Chain Myself?
Yes, it’s a simple DIY project. Follow the steps carefully.
How Do I Remove The Light Fixture Cover?
Unscrew the screws or clips holding the cover in place.
What If The Pull Chain Is Stuck?
You may need to replace the entire pull chain mechanism.
How Do I Install The New Pull Chain?
Attach the new chain to the switch and reassemble the fixture.
Conclusion
Replacing a pull chain on a light fixture is a simple DIY task. Follow the steps carefully for a successful repair. Regular maintenance can prevent common issues. Always ensure safety by turning off the power. Share your experience or tips in the comments to help others.
Happy fixing!